Mastering Picture-in-Picture Editing on Capcut- A Beginner’s Guide
Ever wondered how creators stack multiple videos or images in a single frame? That’s the magic of picture-in-picture editing. CapCut, a popular video editing app, makes this technique a breeze. You can create engaging and dynamic videos by layering clips and images seamlessly.
This introduction will guide you on the essentials of using picture-in-picture in CapCut. It’s packed with practical steps to spark your creativity and elevate your editing skills. Dive in, and you’ll be piecing together captivating content in no time.
Understanding Picture-in-Picture Editing in CapCut
Picture-in-Picture (PiP) editing in CapCut opens up a world of creative possibilities for enhancing your video content. This feature allows you to overlay one video or image onto another, creating a visually dynamic viewing experience.
Benefits of Picture-in-Picture Editing
Using Picture-in-Picture editing in CapCut comes with a range of benefits that can take your videos to the next level.
- Enhancing Storytelling: By incorporating PiP, you can effectively narrate multiple aspects of a story simultaneously, captivating your audience with a richer viewing experience.
- Increasing Engagement: PiP grabs viewers’ attention by offering multiple visuals at once, keeping them engaged and interested in your content.
- Adding a Professional Touch: Utilizing PiP showcases a high level of video editing expertise, giving your videos a polished and professional look that stands out.
Creative Possibilities with Picture-in-Picture
CapCut’s Picture-in-Picture feature offers endless creative opportunities to elevate your video projects.
- Showcasing Multiple Perspectives: PiP enables you to display different angles or viewpoints within the same frame, providing a comprehensive view of the narrative you’re sharing.
- Emphasizing Key Moments: Highlight essential moments within your video by overlaying important visuals in a PiP format, ensuring the focus remains on crucial elements.
- Adding Context to Video Content: With PiP, you can contextualize your main video with supplementary images or videos, enriching the overall storytelling experience for your audience.
Integrating Picture-in-Picture editing capabilities in CapCut empowers you to craft visually compelling and engaging videos that leave a lasting impact on your viewers.
 Photo by Andrew Neel
How to Implement Picture-in-Picture in Capcut
To start creating a captivating picture-in-picture effect in Capcut, follow these simple steps:
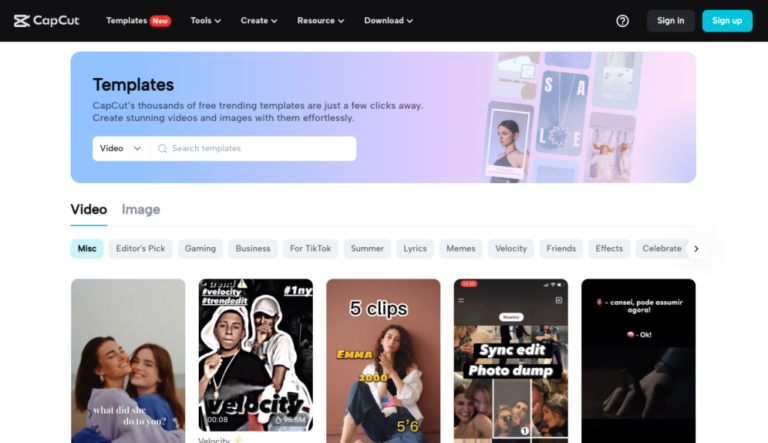
Step 1: Open Capcut and Start a New Project
Begin by launching the Capcut app on your device. Tap on “New Project” to initiate the editing process. This will provide you with a blank canvas to work with for your latest video creation.
Step 2: Import Main Video or Image
After setting up your new project, import the main video or image that will serve as the foundation for your picture-in-picture masterpiece. Tap on the “Import” button and select the file you wish to use as the primary content.
 Photo by Magda Ehlers
Step 3: Overlay Multiple Videos or Images
To achieve the picture-in-picture effect, overlay additional videos or images onto the main content. Tap on the “Overlay” option and choose the videos or images you want to superimpose. Adjust the size and position of the overlays to create the desired visual impact.
By following these steps, you can easily implement the picture-in-picture feature in Capcut and enhance the visual appeal of your videos. Get creative with different layouts and combinations to make your content stand out.
Tips for Enhancing Picture-in-Picture Videos
Picture-in-picture editing can add a dynamic element to your videos, making them more engaging and visually appealing. Here are some tips to enhance your picture-in-picture creations:
Tip 1: Maintain Visual Balance
Balancing the visual elements within the picture-in-picture frame is crucial for creating a cohesive and harmonious composition. Ensure that both the main video and the overlayed content complement each other to avoid visual clutter and confusion. Experiment with different sizes and positions to find the right balance that enhances the overall viewing experience.
Tip 2: Consider Audio Overlay
Incorporating audio from both the main video and the overlayed content can elevate the viewing experience of picture-in-picture videos. By blending the audio seamlessly, you can create a more immersive and engaging atmosphere for your audience. Consider how the audio from both sources can work together to enhance the storytelling and emotional impact of your video.
Tip 3: Experiment with Size and Placement
Don’t be afraid to think outside the box and experiment with different sizes and placements of the picture-in-picture frames. Changing the size and position of the overlayed content can have a significant impact on the visual narrative of your video. Play around with different configurations to see what works best for your content and the story you want to convey.
Utilizing these tips can help you take your picture-in-picture editing skills to the next level, creating visually stunning and engaging videos that captivate your audience.
 Photo by Kyle Loftus
Examples of Picture-in-Picture Editing in Capcut
Picture-in-picture editing in CapCut offers an exciting way to enhance your videos by overlaying one clip or image onto another seamlessly. This feature allows you to create engaging content with multiple layers of visuals. Let’s explore some creative examples of how you can utilize picture-in-picture editing in CapCut to elevate your video projects.
1. Overlaying Facecam on Gameplay
One popular use of picture-in-picture editing is overlaying a facecam feed on gameplay footage. By incorporating your reaction or commentary in a small window while showcasing the gameplay in the background, you can add a personal touch to gaming videos. This dynamic setup helps viewers connect with the content creator on a more personal level.
Photo by Kyle Loftus
2. Product Demos with Overlay
For businesses or influencers promoting products or services, picture-in-picture editing can be used to showcase demonstrations effectively. You can demonstrate product features or step-by-step tutorials in a small window while maintaining a larger view of the product itself. This setup ensures that viewers can follow along with the instructions without missing any details.
3. Interview or Dialogue Scenes
When creating interview videos or dialogue scenes, picture-in-picture editing can enhance the viewer’s experience by showing both participants simultaneously. By splitting the screen and displaying each speaker in a separate frame, you can capture reactions, expressions, and interactions more vividly. This approach adds depth and engagement to the conversation, keeping viewers hooked.
By experimenting with these examples of picture-in-picture editing in CapCut, you can unlock new possibilities for storytelling and visual creativity in your videos. Whether you’re a content creator, social media marketer, or aspiring filmmaker, mastering this editing technique can take your video content to the next level. Experiment with different overlays, placements, and sizes to find the perfect balance that suits your style and message.
Conclusion
After exploring the various ways to enhance your videos with Capcut’s picture-in-picture editing feature, you are now equipped with the knowledge to create dynamic and engaging content. By incorporating picture-in-picture, you can elevate the storytelling aspect of your videos and capture the attention of your audience in a unique way.