How to Use CapCut: A Comprehensive Guide
In today’s digital age, video content has become a prominent medium for communication, entertainment, and marketing. With the increasing demand for video editing tools, CapCut has emerged as a versatile and user-friendly application for both beginners and professionals. In this guide, we will walk you through the essential steps on how to use CapCut effectively.
Getting Started with CapCut
CapCut is a powerful video editing app available for both Android and iOS devices. It offers a wide range of features to enhance your video editing experience. Here’s how to get started:
- Downloading CapCut: Visit your device’s app store and search for “CapCut.” Download and install the app on your smartphone or tablet.
- Launch the App: After installation, open the CapCut app by tapping on its icon. You will be greeted with a user-friendly interface.
Importing Your Footage
Before you start editing your video, you need to import your footage into CapCut. Here’s how to do it:
- Create a New Project: Tap on the “New Project” button to begin a new editing project.
- Import Media: Click on the “Import” button to select the videos and photos you want to include in your project. CapCut supports various video formats, ensuring compatibility with your media files.
Editing Your Video
Now that you’ve imported your media files, it’s time to dive into the editing process. CapCut provides a range of editing tools to enhance your video:
- Trim and Cut: Use the trimming tool to cut out unwanted portions of your video. Simply drag the handles to select the desired segment and click “Trim.”
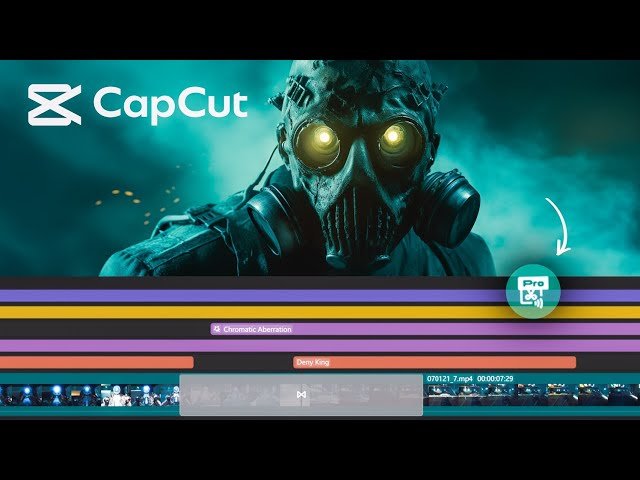
- Adding Transitions: To create smooth transitions between clips, explore CapCut’s transition effects. Choose from a variety of options to give your video a professional touch.
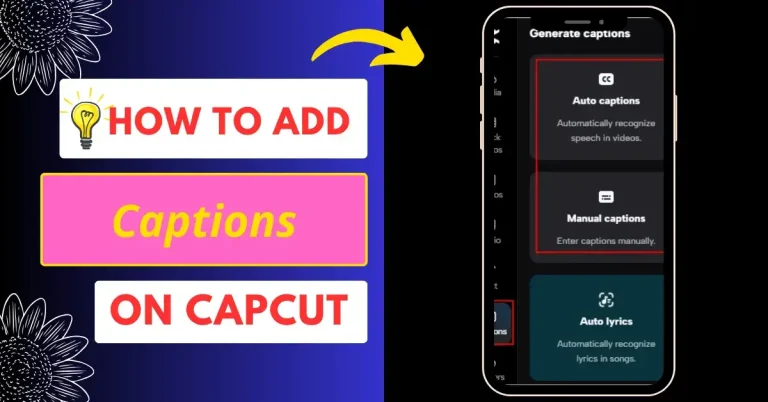
- Adding Text and Titles: Enhance your video’s storytelling by adding text and titles. CapCut offers customizable text options, allowing you to select fonts, colors, and animations.
- Filters and Effects: Experiment with a wide range of filters and effects to give your video a unique look and feel. Adjust parameters such as brightness, contrast, and saturation to achieve the desired effect.
Adding Music and Sound
Music plays a crucial role in setting the mood of your video. CapCut makes it easy to add music and sound effects:
- Import Audio: Tap on the “Audio” tab to import music or sound effects. You can either select from CapCut’s built-in library or use your own audio files.
- Adjust Audio Levels: Ensure that your audio blends seamlessly with the video by adjusting the volume levels. CapCut provides easy-to-use controls for precise audio editing.
Exporting Your Video
Once you’ve perfected your video, it’s time to export and share your masterpiece with the world:
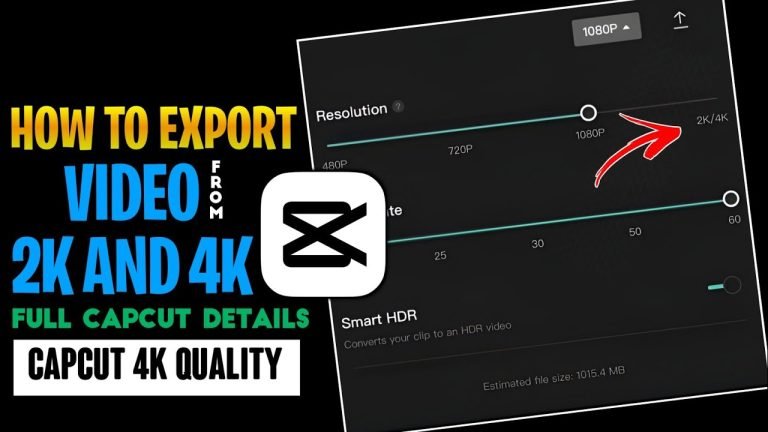
- Preview Your Video: Before exporting, take a moment to preview your video and make any final adjustments if necessary.
- Export Options: Click on the “Export” button and select your preferred export settings. CapCut offers various resolutions and quality options to suit your needs.
- Save and Share: After exporting, save your video to your device’s gallery. You can then share it on social media platforms or with your friends and family.
Conclusion
CapCut empowers you to unleash your creativity and produce stunning videos with ease. Whether you’re a content creator, a business owner, or a casual video enthusiast, CapCut’s intuitive interface and robust features make it a top choice for video editing. Start using CapCut today to bring your video ideas to life and captivate your audience like never before. Happy editing!