How to enhance video quality with CapCut’s 4K settings
In the bustling digital age where content is king, crafting videos that stand out in clarity and quality is paramount. For aspiring videographers, content creators, and anyone keen on polishing their visual stories, the quest for that crystal-clear, eye-popping video quality is never-ending. Enter CapCut’s 4K settings – a game-changer for enhancing video quality.
In this article, we’ll dive into the nitty-gritty of how to make your videos shine brighter than a diamond using CapCut’s 4K prowess.
Understanding the Magic of 4K
Before we jump into the how-to, let’s quickly understand what 4K actually means. Imagine your video is a mosaic, and each tile is a pixel. 4K refers to a resolution that packs approximately 4,000 pixels across the horizontal axis of your screen, offering a level of detail that’s as close to real life as you can get on a digital canvas. It’s like upgrading from a hand-drawn sketch to a high-definition photograph.
Why CapCut?
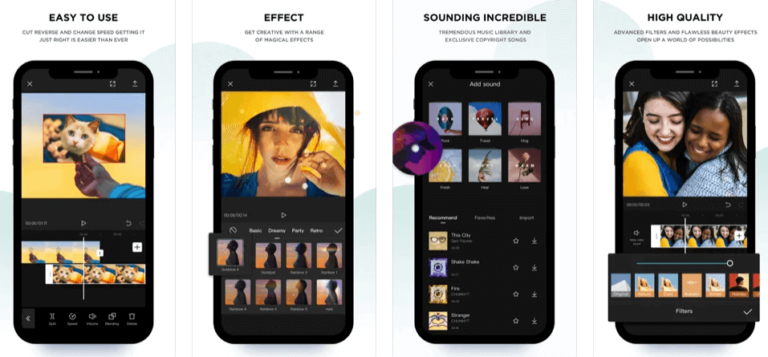
CapCut, a free all-in-one video editing app, has made quite a splash with its user-friendly interface and powerful editing tools. Among its treasure trove of features, the 4K setting stands out for its ability to elevate your video quality to professional heights, making it a go-to tool for anyone looking to enhance their visual content.
Step-by-Step Guide to Enhancing Video Quality with CapCut’s 4K Settings
Step 1: Get the App and Import Your Video
First things first, download CapCut from your app store if you haven’t already. Once installed, open the app and start a new project by importing the video you want to enhance.
Step 2: Dive into the Details
With your video imported, tap on the video timeline to select it. Look for the “Quality” option in the editing menu. Here, you’ll find the golden key to unlocking CapCut’s 4K capabilities.
Step 3: Crank It Up to 4K
In the “Quality” settings, select the 4K option. This step tells CapCut to apply its digital wizardry to upscale your video’s resolution to 4K. Keep in mind, enhancing to 4K works best on videos that are already of high quality. If you’re starting with a low-resolution video, the improvement might not be as dramatic.
Step 4: Fine-Tune with Additional Edits
CapCut doesn’t stop at just upscaling your video; it also offers a suite of editing tools to fine-tune your content. Play around with color correction, filters, and effects to further enhance your video’s visual appeal. Remember, the devil is in the details!
Step 5: Export with Elegance
Once you’re satisfied with your masterpiece, it’s time to export. Make sure to select the 4K option in the export settings to maintain the high resolution. Be patient, as exporting in 4K might take a bit longer than usual due to the larger file size.
Tips and Tricks
- Lighting Matters: Good lighting is the backbone of high-quality video. Ensure your original footage is well-lit to maximize the impact of the 4K enhancement.
- Stable is the Way to Go: Use a tripod or stabilize your footage in CapCut to avoid shaky videos. High resolution makes every tremble more noticeable.
- Patience is Key: High-quality exports take time, especially in 4K. Don’t rush the process.
Wrapping Up
Enhancing video quality with CapCut’s 4K settings is like putting on a pair of glasses and seeing the world in vivid detail for the first time. Whether you’re aiming to dazzle on social media, create memorable family videos, or produce professional-looking content, mastering CapCut’s 4K settings is a step towards realizing your creative vision.
Dive in, experiment, and watch your videos transform from mundane to magnificent.